This case study is presented to illustrate the care and work that goes into our restoration process.
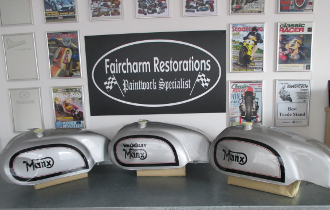
Faircharm Petrol Tank Restoration
- The tank is checked for leaks on receipt.
- Original paint is colour matched and stencils and measurements are taken where possible.
- If there are no traces of paint colour and lining Faircharm will undertake the necessary investigations.
- To establish what work needs to be undertaken, i.e. leak repairs, dents, welding work or filler work,.old paint and rust is removed by the process of grit blasing leaving a clean bare steel or aluminium fuel tank,
- When welding work is undertaken there is a pressure test then grit blast for a second time leaving the tank ready for the next process.
- The surface of the tank is thoroughly cleaned using special solvents before any filler work is undertaken.
- Three coats of two pack filler primer is applied and then the tank is baked in a drying room at a temperature of approximately 120 degrees fahrenheit. Once dry the primer is smoothed down.
- One coat of two pack acid etch primer is then applied followed by three coats of high build acrylic primer. This is then baked.
- The tank is then rubbed down with wet and dry paper leaving it ready for the top coats of paint.
- Various two pack paint systems are applied depending on colour - then bake off.
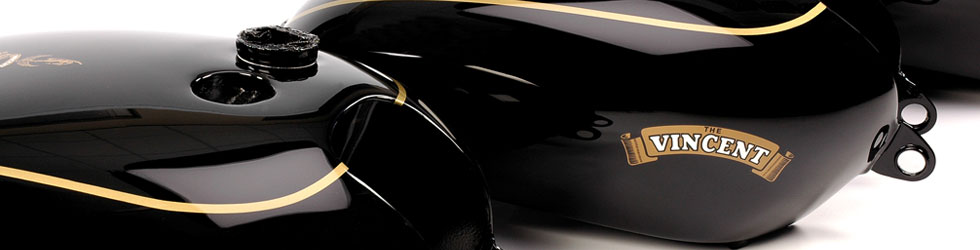
- All lining is sprayed on by airbrush.
- Following lining and fitting of decals three coats of two pack lacquer is applied - then bake off.
- The lacquer is then smoothed down to ensure there are no edges to the linings or decals - a completely smooth surface.
- A further three coats of two pack lacquer is applied - then bake off.
- The whole tank is then polished to a high gloss finish completing the process.